Wasatch Lights
Bong 69 DMX adapter
Bong 69 DMX adapter
Couldn't load pickup availability
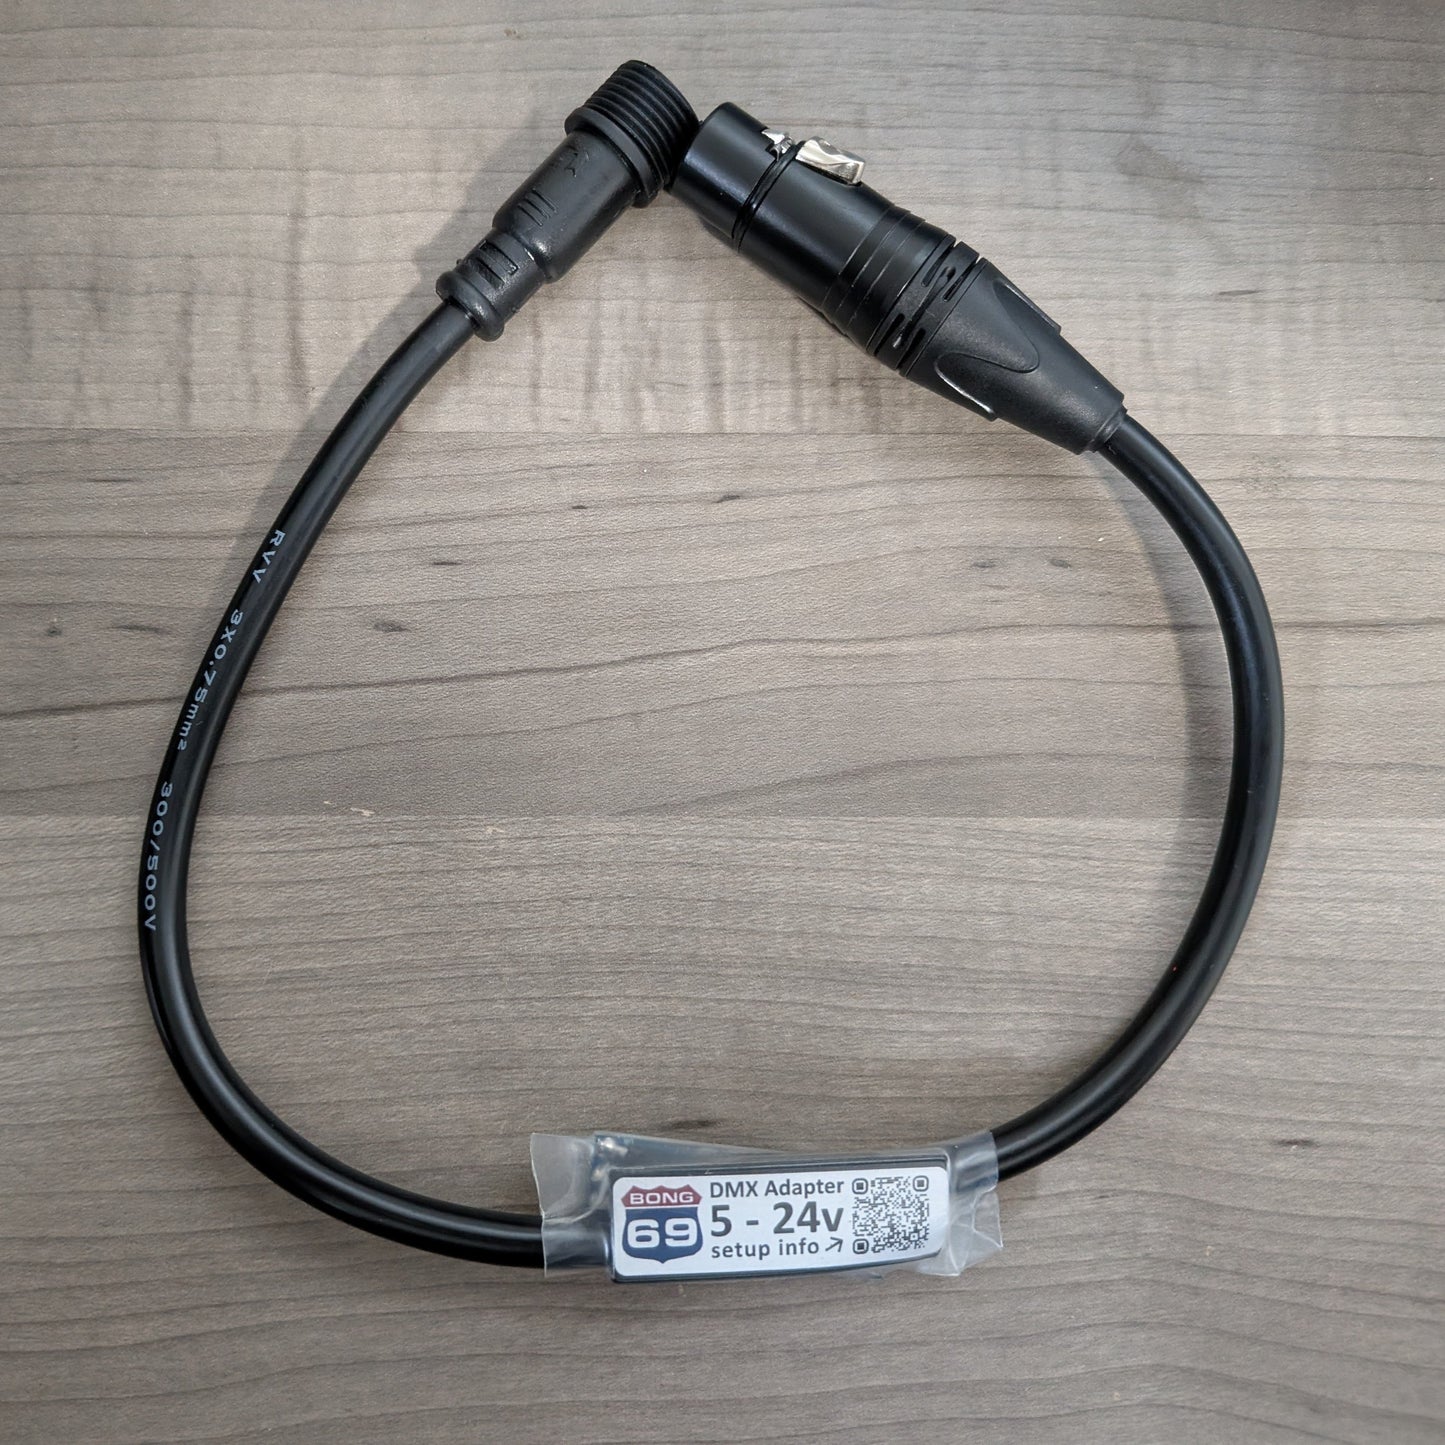
DMX Adapter
This is a DMX Adapter. It lets you control DMX lights with any controller that can run ESPixelStick firmware version 4.0.
- Voltage: 5v to 24v
- Input connector: Male xConnect
- Output connector: Female 3 pin XLR
- Total length: 19.5" (49.5cm)
- Surge protection on DMX output
- Reverse polarity protection on input voltage
- DMX transmission only
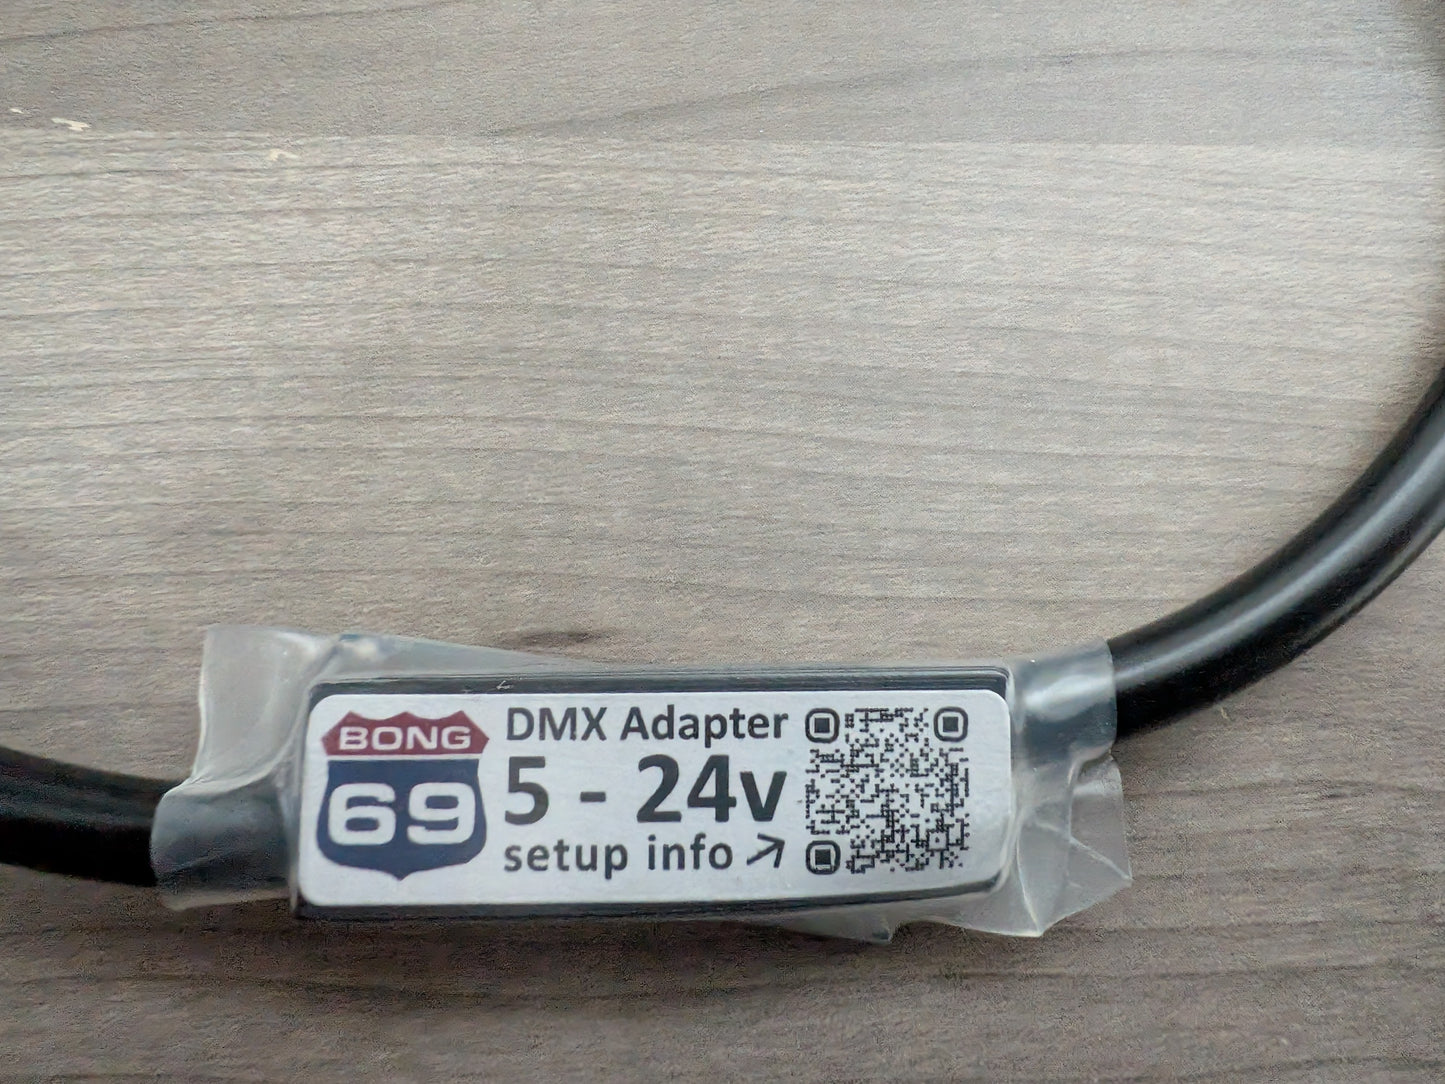
- Use the QR code for set up information
DMX Output is possible on the 8 Port LED Distro. You need to install ESPixelStick firmware. ESPixelStick allows you to change one of the outputs to use the DMX protocol. This video has more detail about DMX and the xlights set up: (https://youtube.com/watch?v=aNw_iXwn4mw&si=04DVH85MfxVccUhA)
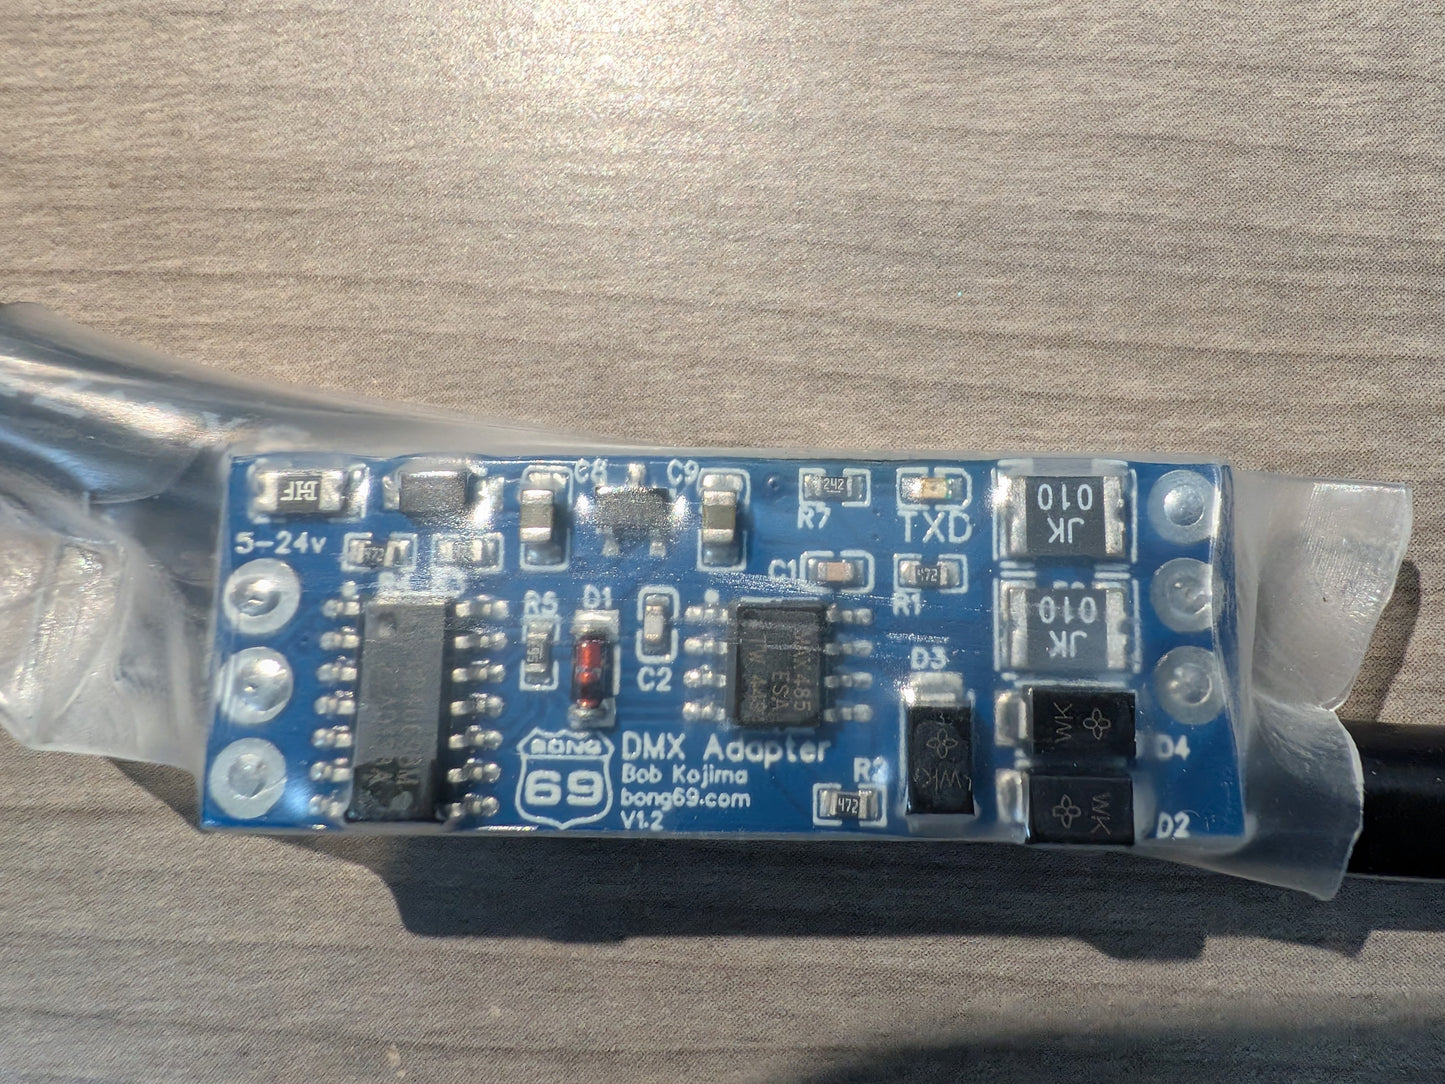
You can make a DMX Adapter with the XY-485 a TTL to RS485 PCB. This PCB is available on amazon and aliexpress.

There are lots of RS485 PCBs. Make sure to get the one labeled 'XY-485' and '3.3-33V'. The step down converter will convert an input voltage of 5v-24v down to the 3.3v this circuit needs.

This diagram shows the needed connections for the adapter board.
You can use the online installer to install the ESPixelStick firmware on your 8 Port LED Distro. Use a USB-C cable to connect your 8 Port LED Distro to a computer. Open a browser to the online installer: https://espixelstickwebflasher.from-ct.com:5000/
![]()
- Under verion pick a 4.0 version
- Under platform pick 'ESP32 BONG 69'
![]()
- Uncheck use DHCP and give your board an ip address, netmask, gateway, and primary dns.
- Press the flash device button.
- Follow the prompts till firmware installation is complete.
- Unplug the USB-C cable.
- Plug in an ethernet cable
- Plug in the XY-485 adapter cable you made above into LED Port 8 on the 8 Port LED Distro
- Power up the 8 Port LED Distro
![]()
- Use a web browser to connect to the board using the ip address you gave the board in the previous step.
- Click on the Device Setup tab
- Set the primary input to DDP
- Set output 8 to DMX
- Change channel count to 510
- Press the save button
In this example I'm using 2 of the 10 channel SHEHDS RGBWA+UV LED PARs. Since this is a 10 channel fixture I will set the address of the first fixture to address 1 and the second fixture to address 11. If I had a third fixture it would have address 21 and a fourth would have address 31. The first address must be 1 and the rest of the addresses must be sequential with no gaps between fixtures.

- Open xLights
- On the controllers tab click on the discover button
- Click on your newly discovered ESPixelStick device
- Change the model to ESPixelStick-4.x
- Change the Variant to Bong69
- Press the save button

- On the Layout tab, add 2 DMX flood lights to your display
- Set the number of channels to 10
- Set the red, green, blue, white, and shutter to the correct channel number.

- Go back to the controllers tab.
- Select the ESPixelStick device and press the Visualize button
- Drag both Fixtures onto pixel port 8. make sure they are in the correct order with the DMX address 1 fixture first.

- On the Sequencer tab, start a new animation sequence
- add a DMX flood light to each fixture
- Make sure all your DMX fixtures are connected and powered up.

- Click the Output to light button in xLights
- Click on DMXFloodlight in the sequence window
- Slide Channel 1 up to 255
- Slide Channel 2 up to 255
- The first light should turn red

- Click on DMXFloodlight-2 in the sequence window
- Slide Channel 1 up to 255
- Slide Channel 4 up to 255
- The second light should turn blue